The practice of using bioactive tanks has grown within the reptile and amphibian community. These tanks provide an environment that functions independently as a natural habitat for pets. Traditional enclosures differ from bioactive setups because they unite live plants with beneficial microfauna and natural substrates to build a balanced ecological system. The animal-enriching features found in bioactive tanks minimize the time needed for routine enclosure maintenance and cleaning tasks.
Content Table
This article studies bioactive tanks through their distinctive features and explains their fundamental setup process. The guidelines for building tropical desert or forest bioactive tanks will be explained step by step on how to set up a bioactive tank and create healthy habitats for your pets.
bioactive tank
Outstanding Bioactive Tank
A bioactive tank functions as an automatically maintained closed environment that mirrors the original living space of tank inhabitants. Bioactive tanks are different from customary enclosures because they include real organisms, such as plants, together with microfauna, while decomposers serve to maintain ecological balance. The central advantage of a bioactive setup consists of its ability to manage wastes while maintaining humidity levels and enabling natural habits among reptiles and amphibians, as well as small mammals.
The combination of bioactive substrate with beneficial bacteria and decomposers like springtails and isopods makes waste breakdown possible, which results in less maintenance for the system. The combination creates a beneficial system that benefits animals while improving the naturalistic appeal of the enclosures through their aesthetically pleasing characteristics.
Types of Bioactive Tanks
Bioactive tanks can be classified based on the habitat and the species they are designed for. Here are some common types:
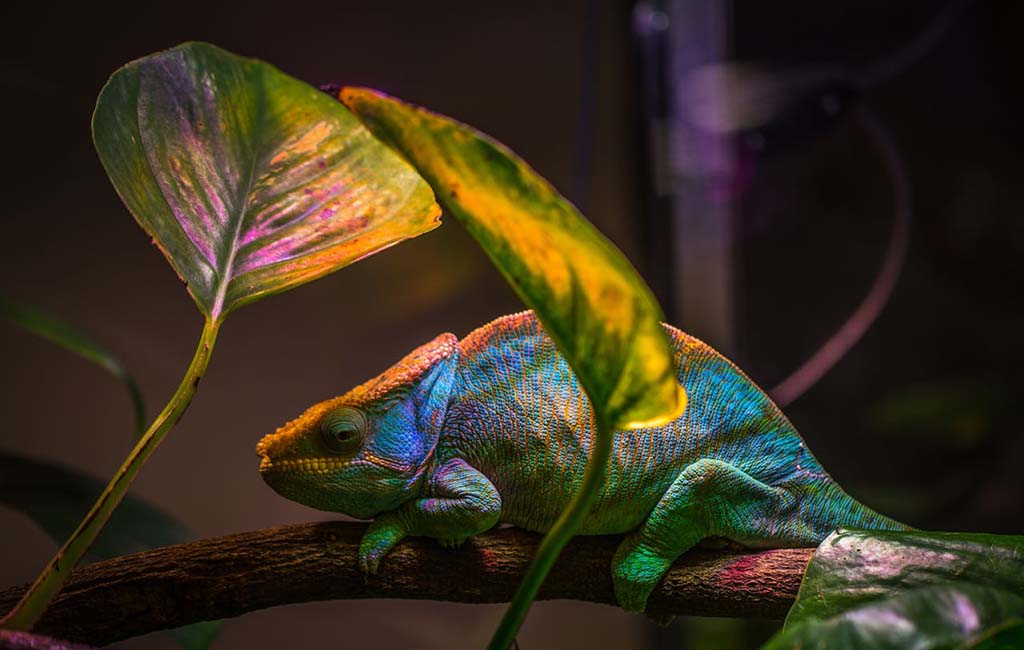
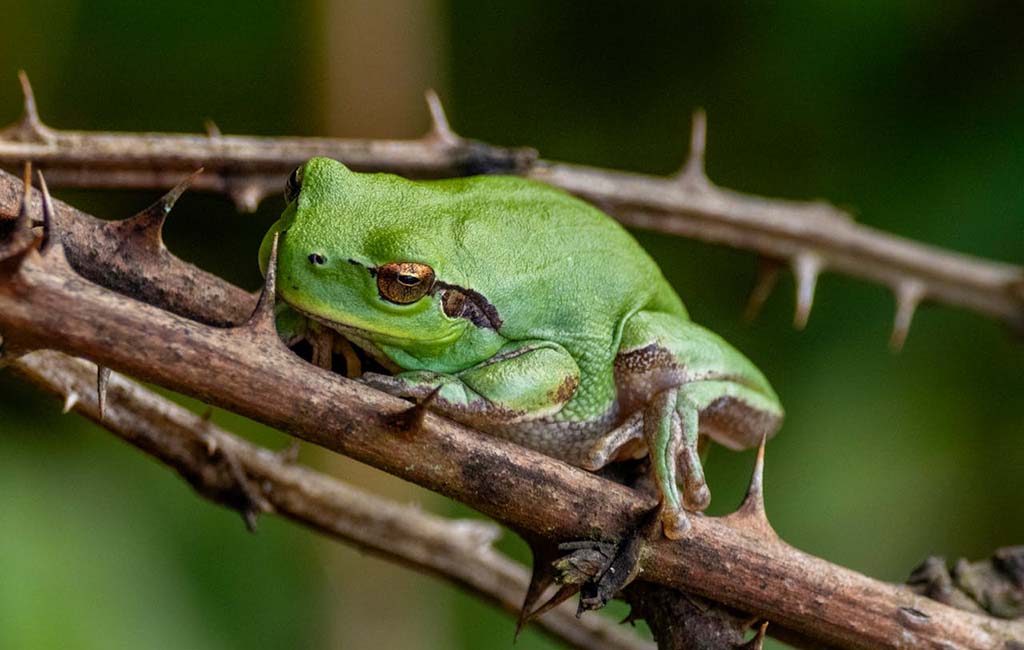
Tropical Bioactive Tanks
- This setup targets dart frogs together with geckos and tree-dwelling amphibians, which require humid environments.
- The setup includes wetting substrates together with tropical plants placed in the enclosure.
- The tank system needs manual misting operations or automated humidity control devices.
Desert Bioactive Tanks
- The tanks work best for leopard geckos and bearded dragons that live in desert environments.
- A dry, sandy substrate formed with drought-tolerant plants represents the proper setup.
- The tank needs perfect ventilation to stop humidity levels from getting too high.
Forest Bioactive Tanks
- Protective habitats work best for crested geckos together with specific snakes, which require medium humidity conditions.
- Features a mix of leaf litter, soil, and moss for a natural forest floor.
- The habitat includes several climbing platforms, which consist of branches and vines.
Aquatic Bioactive Tanks
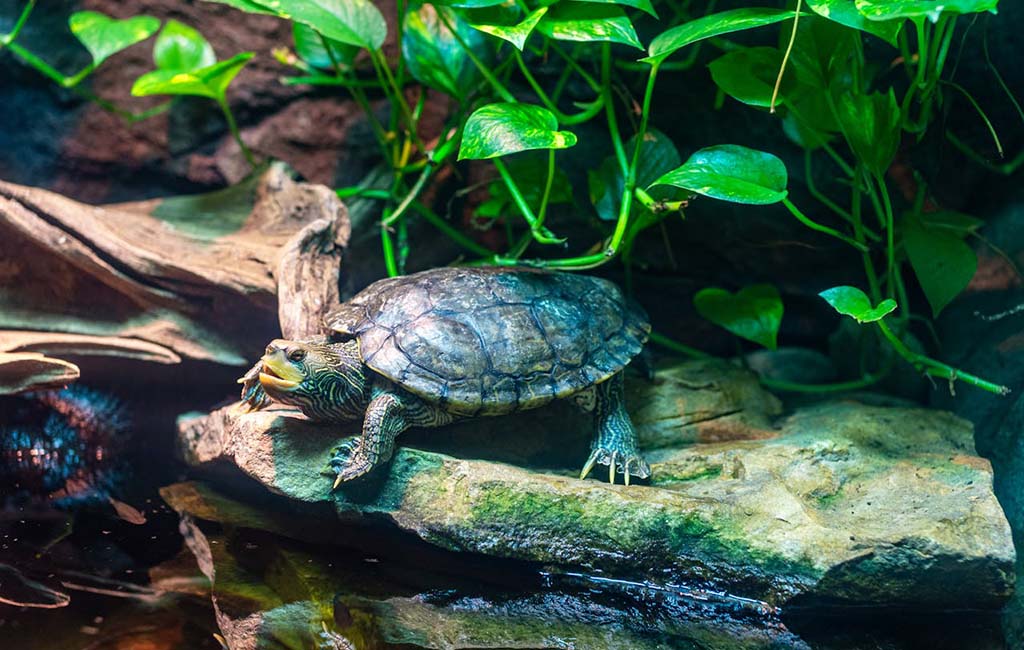
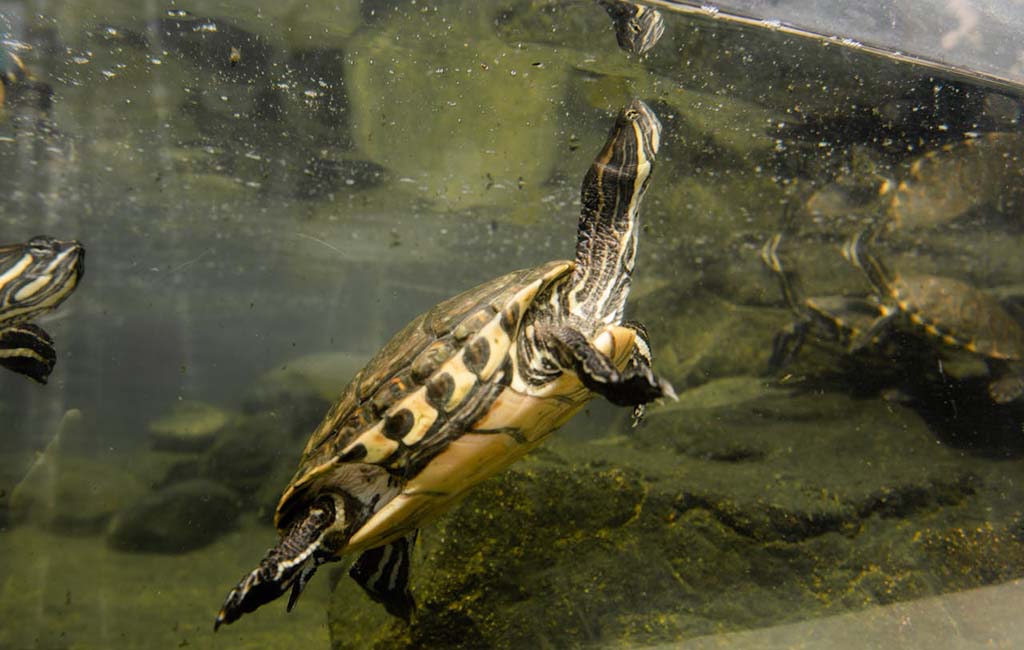
- This setup meets the requirements of turtles, together with amphibians and fish, that inhabit both water and land environments.
- The tank implements a filtration system that supports aquatic vegetation with beneficial bacteria functions inside.
- For amphibians, it is necessary to find an equilibrium between land elements and water quality in their habitats.
Terrarium-paludarium Hybrid Tanks
- The habitat, which combines water and land, creates an ideal environment where fire-bellied toads and a particular turtle species
- The creation of this system depends on combining land plants with aquatic plants beneath the water surface to maintain proper ecosystem balance.
Types of Bioactive Tanks
Does a Drainage Layer Need to be Used for Bioactive Tanks?
Bioactive tank drainage serves two critical functions: maintaining the right moisture levels and stopping substrate water logging and its associated mold and bacterial development. A drainage layer proves most crucial within tropical and forest tanks, but desert environments can skip it.
When is a Drainage Layer Needed?
- A drainage layer is necessary for tropical and humid bioactive tanks because it prevents substrate water accumulation. To prevent excessive substrate saturation, a mesh barrier should rest on top of gravel or hydroballs, which act as drainage collectors.
- Drainage systems installed in reptile paludariums and aquatic setups ensure proper water separation of watery areas from land sections.
When is a Drainage Layer Not Needed?
- A drainage layer is unnecessary in desert bioactive enclosures since they depend on dry substrate material. The inhabitants suffer from respiratory problems when excessive moisture affects these setups.
Does It Need UV Light for a Bioactive Tank?
Whether UV light should be used in a bioactive tank depends on the specific species that needs care within it. Almost all reptiles, together with amphibians, need UVB lighting to generate vitamin D3 through synthesis and maintain calcium levels.
Importance of UVB Light
- UVB light represents an essential requirement for health maintenance in bearded dragons, together with turtles and specific gecko species, because it avoids metabolic bone disease.
- Even though amphibians and nocturnal species do not necessarily need UVB, they can benefit from minimal exposure to it.
Lighting Setup Guidelines
- Tropical and desert setups: The combination of a UVB lamp with a heat lamp must be present to create natural sunlight conditions in tropical and desert habitats.
- Forest setups: The level of required forest habitat UVB exposure depends on each specific species.
- Aquatic bioactive tanks often require specialized UV lighting for basking areas if they house semiaquatic reptiles.
UV Light for Bioactive Tank
How to Set up a Bioactive Tank
Establishing a bioactive tank demands various procedural steps to build a successful natural ecosystem. The following list provides basic instructions for building a bioactive enclosure.
Step 1: Choose the Right Enclosure
- You should choose an enclosure that suits your pet’s requirements by assessing its dimensions, together with ventilation features and construction materials.
- The preferred choice for humid environments is glass tanks, while screen enclosures create enough ventilation to accommodate arid species.
- Devote adequate space within the enclosure for plants as well as microfauna, together with sufficient hiding areas.
Step 2: Add a Drainage Layer (If Needed)
- You should establish a water drainage system in your humid tanks using either hydro balls, gravel, or clay balls.
- The drainage layer stops too much water from reaching the substrate, which allows better plant development.
- Cover the drainage area by placing a mesh or fabric layer between it and the bottom substrate.
Step 3: Install a Substrate Barrier
- A fine mesh or landscape fabric should be implemented as a substrate barrier that separates it from the drainage layer.
- The ecosystem stability is protected, and suitable moisture levels are maintained through this procedure.
- Breezable barriers should be selected because they enable effective drainage of water.
Step 4: Add a Bioactive Substrate
- Choose organic soil composed for your species’ specific needs.
- For different bioactive environments, the substrate mixture should consist of sand together with clay and moss.
- Synthetic fertilizers, together with pesticides, must be excluded because they endanger microfauna populations.
Step 5: Introduce Microfauna
- Add springtails, isopods, and beneficial bacteria to help break down waste.
- These organisms maintain the health of the soil and prevent mold growth.
- Choose species of microfauna that are compatible with your pet’s environment.
Step 6: Plant Live Flora
- Select species-appropriate plants that thrive in the enclosure’s conditions.
- Ferns, succulents, bromeliads, or pothos are common choices depending on humidity levels.
- Plants contribute to oxygenation and help regulate moisture levels.
Step 7: Add Decor and Hides
- Rocks, branches, cork bark, and artificial caves provide enrichment.
- Hides and climbing structures allow pets to feel secure and reduce stress.
- Arrange decor to create a natural and functional landscape for the animal.
Step 8: Set Up Lighting and Heating
- Install the appropriate UVB and heat lamps based on your pet’s requirements.
- Ensure a temperature gradient by positioning heat sources like nano heaters on one side.
- Monitor conditions with thermometers and hygrometers for accuracy.
Step 9: Introduce the Animal
- Allow the tank to cycle for a few weeks to establish the ecosystem.
- Regularly check humidity and microfauna activity before adding your pet.
- Slowly introduce the animal and observe how it interacts with its new habitat.
How to set up a bioactive tank
The Final Word
The bioactive tank is a versatile ecosystem providing superior natural habitats for reptiles, amphibians, and small mammals. Selecting the appropriate tank, together with proper lighting and drainage layer installation, will result in a healthy ecosystem. Maintaining a bioactive tank properly will create a great living environment for your pet reptiles and provide better enjoyment to their owners.
Related Products

Leave a comment