Aquarium light is a great tool with numerous benefits. For instance, it helps to enhance the color of fish and plants, while also improving the aquarium’s ornamental value. Following the article, we will compare hygger aquarium light – 016 light and 957 light. After reading, you have a deeper understanding of the two aquarium lights.
Content Table
Prominent aquarium programming lights
This part will provide an overview of hygger 016 and 957 lights, which light is good for the aquarium? Walk through the table below, the answer will come to your mind. And here is something you should know in advance: the “√” in the table below refers to the aquarium light that has the feature, while the “×” means that the light does not possess the feature.
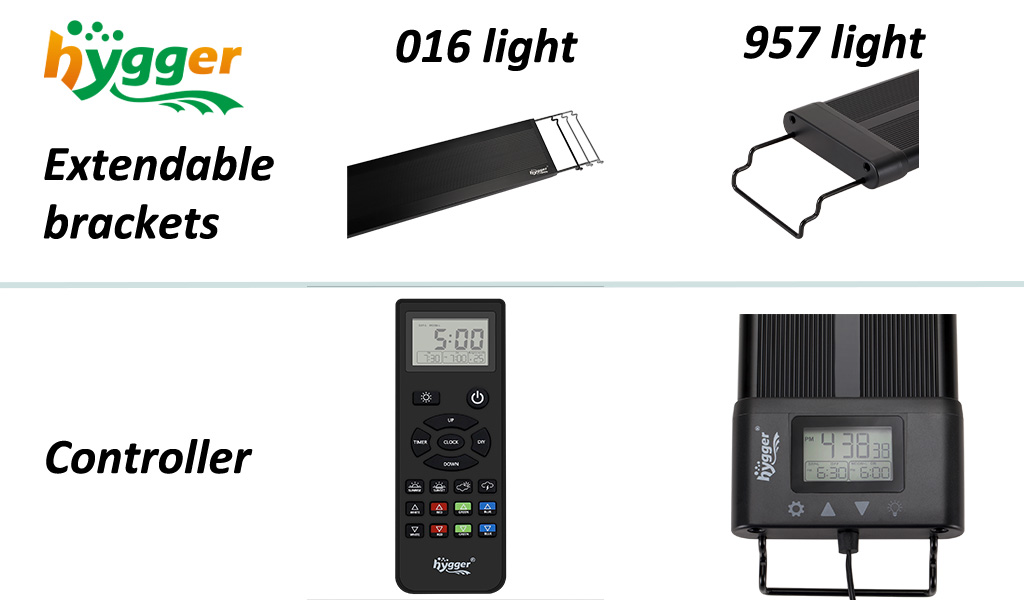
| Features | Hygger 016 aquarium light | Hygger 957 aquarium light |
| Suitable tank sizes | 12–54 inches | 12–55 inches |
| 24/7 lights | √ | √ |
| Waterproof grade: IP 68 | √ | √ |
| √ | √ | |
| Fast heat dissipation | √ | √ |
| Power-off Memory function | √ | √ |
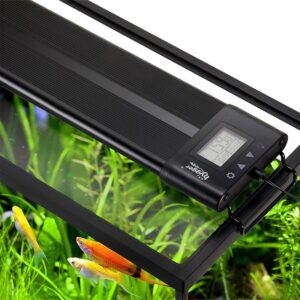
| Controller | Remote control with LCD | Control panel |
| LCD monitor | √ | √ |
| Separable adapter | √ | √ |
| Setting buttons | Nineteen | Four |
| Programming mode | Four modes (default / DIY / Weather / Day & moonlight mode) |
Four modes (default / DIY / gradient / all-day all-optical mode) |
| Brightness change | 10 (10%-100%) | 10 (10%-100%) |
| Available colors | 7 (red, green, blue, purple, orange, cyan, yellow) | Varying from four modes |
Comparison of 016 light and 957 light
Differences in appearance
1. Light specifications
| hygger 016 light | hygger 957 light | |
| Power | 18W /24W /30W /36W /42W /58W | 20W /26W /36W /48W /72W |
| Suitable tank size | 12–54 inches | 12–55 inches |
| Kelvin | 6500-10000K | 6500-10000K |
| Lumens | 1000 /1600 /2100 /2700 /3100 /3600 | 927 /1290 /1984 /2365 /3346 |
| PAR | 18w /24W /30W /36W /42w /58W 195.8 /191.5 /215.7 /224.6 /232.6 /258 |
20W /26W /36W /48W /60W /72W 201 /243.2 /258 /313.3 /346.5 /420.1 |
| LED QTY | White: 32 /54 /64 /74 /84/130 RGB: 24 /36 /48 /60 /72/96 Purple: 4 /6 /8 /10 /12 /14 |
40/77/112/144/248 pcs |
| Output Voltage | DC 20 V | DC 15 v 1.5 A/DC 15 v 1.5 A/DC 20 v 2 A/DC 20 v 2 A/DC 20 v 3 A |
| Input Voltage | AC 100-240V | AC 100-240V |
| Material | Aluminum | Aluminum |
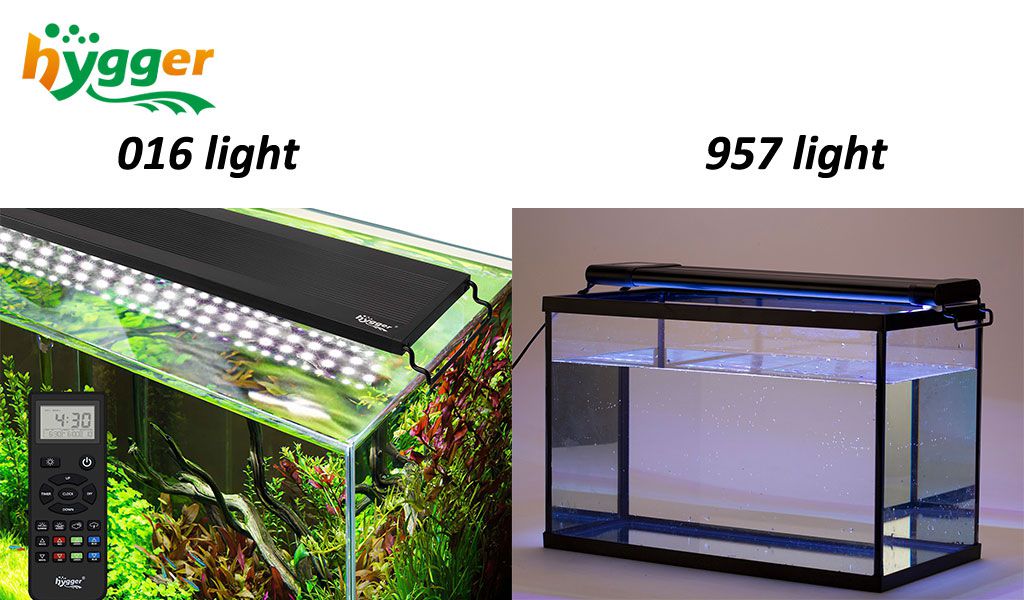
2. Light controller
- 016 light: it possesses a remote control with an LCD. But the controller is not waterproof.
- 957 light: it has a wireless controller – a touchscreen control panel.
Differences in functions
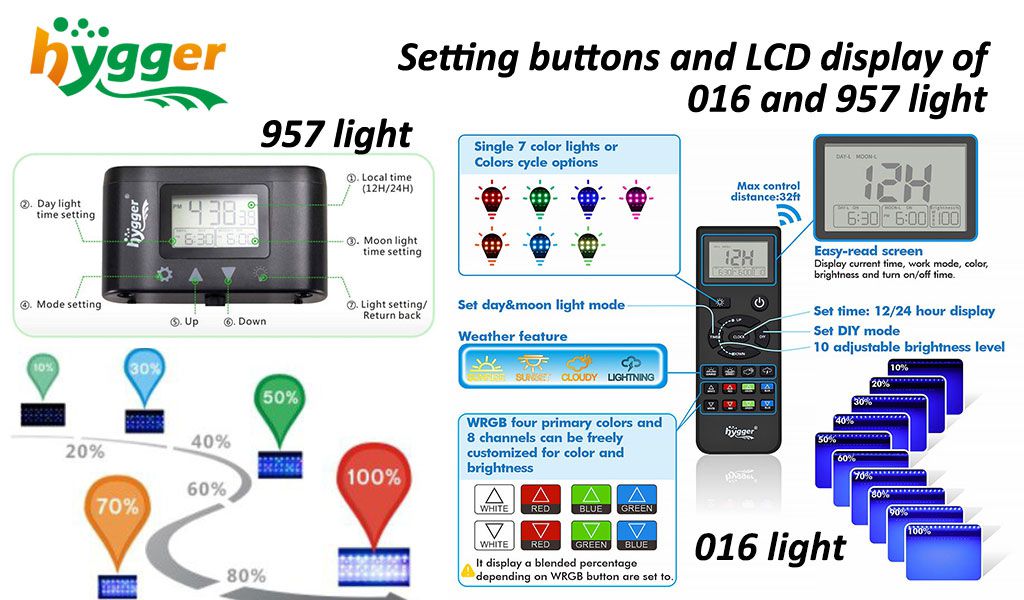
| Setting buttons | |
| 016 aquarium light | ① Switch button: Turn on or off the controller and light ② Color option button: Press the button to choose the light color. Or long press the button for 3 seconds to run RGB gradient cycle lighting ③ Up button/Down button: Press the button to adjust brightness and time ④ Timer button: Press the button to program DAY-Light or MOON-Light time setting ⑤ CLOCK button: Press the button to set the local time. Or Long press the button for 3 seconds to choose 12H/24H. ⑥ DIY button: Press the button to program DIY mode. ⑦ Sunrise button/Sunset button: Press the button to enable the light to simulate sunrise/sunset. ⑧ Cloud button: Press the button to enable the light to simulate the cloud. ⑨ Lighting button: Press the button to enable the light to simulate thunder. ⑩ White up/down button: Press the button to turn up/down the brightness of white. ⑪ Red up/down button: Press the button to turn up/down the brightness of red. ⑫ Green up/down button: Press the button to turn up/down the brightness of green. ⑬ Blue up/down button: Press the button to turn up/down the brightness of the blue. |
| 957 aquarium light | ① Setting button (Gear icon): Press the button to enter the setting interface ② Up button: Press the button to improve the number ③ Down button: Press the button to decrease the number ④ Light setting button: Set the light color |
| hygger 016 aquarium light | hygger 957 aquarium light | |
| LCD | ① Current mode ② Current time ③ 24H/12H of local time (if you set 12H, “PM” will be shown) ④ Time On ⑤ Time off ⑥ Color & Brightness |
① Local time (Current time) ② 24H/12H of local time (if you set 12H, “PM” will be shown) ③ Day-light mode setting (start and end time, plus light intensity) ④ Moon-light mode setting (start and end time, plus light intensity) ⑤ DIY mode setting (start time, end time, time stage, and light intensity) |
| Programming modes | ① Default mode ② DIY mode ③ Weather mode ④ Day & moonlight mode |
① Default mode ② DIY mode ③ Gradient mode (Cycle mode) ④ All-day all-optical mode |
Differences in settings (Available mode settings for 016 and 957 light)
Tips about the brightness of 016 light
To clarify light brightness’s setting details, here are some tips you should know in advance. As for the light intensity (brightness) of 016 light, it includes WRGB brightness and four colors (White/Red/Green/Blue) intensity. WRGB brightness ranges from 10% to 100%, while the four colors’ intensity can be set separately from 0% to 25%. To conclude, WRGB brightness shown on LCD is the sum of four colors (White/Red/Green/Blue) intensity. W for white, R for red, G for green, and B for blue.
For instance, provided that you want to set 17% white and 10% blue. Then press the white up and down buttons plus the blue up and down buttons to choose your desired point. After that, you can see 27% brightness on the LCD.
| hygger 016 light | hygger 957 light | |
| Default mode | (1)DAY-L & Moon-L mode default program
Lighting time: ① Daylight: 06:30-18:00 Light color: Light intensity: (2) DIY mode default program L1: L2: L3: L4: L5: L6: L7: L8: |
Lighting time:
① Daylight: 06:30-18:30 Light intensity (brightness): Mimics the effect of sunrise to sunset Light color: ① Daylight: full-spectrum white light |
| DIY mode | Lighting time:
It can be set any time by yourself Time stages: L1-L8 (8-time stages) Light intensity: ① WRGB brightness: 10%-100% (10%, 20%, 30%, 40%, 50%, 60%, 70%, 80%, 90%, 100%) Light color: It can be set by yourself (available colors: red, green, blue, purple, orange, cyan, yellow) |
Lighting time:
It can be set any time by yourself Time stages: L1-L8 (8-time stages) Light intensity (brightness): 10 brightness levels (10%, 20%, 30%, 40%, 50%, 60%, 70%, 80%, 90%, 100%) Light color: ① L1-L6: all-optical |
| Day & moonlight mode for 016 light & All-day all-optical mode for 957 light | Day & moonlight mode
Light time: It can be set any time by yourself Light intensity: ① WRGB brightness: 10%-100% (10%, 20%, 30%, 40%, 50%, 60%, 70%, 80%, 90%, 100%) Light color: It can be set by yourself (available colors: red, green, blue, purple, orange, cyan, yellow) |
All-day all-optical mode
Lighting time & light intensity (brightness): It can not be set Light color: RGB light can be adjusted, including blue, red, and green |
| Weather mode for 016 light & Gradient mode (Cycle mode) for 957 mode | Weather mode
It runs while one of the three modes is working. The weather mode can be set by pressing the respective buttons on the remote control. |
Gradient mode (Cycle mode)
Lighting time & light intensity (brightness): It can not be set Light color: Cycling – dark blue, green, purple, cyan, yellow, and red |
016 light
Application of 016 light and 957 light
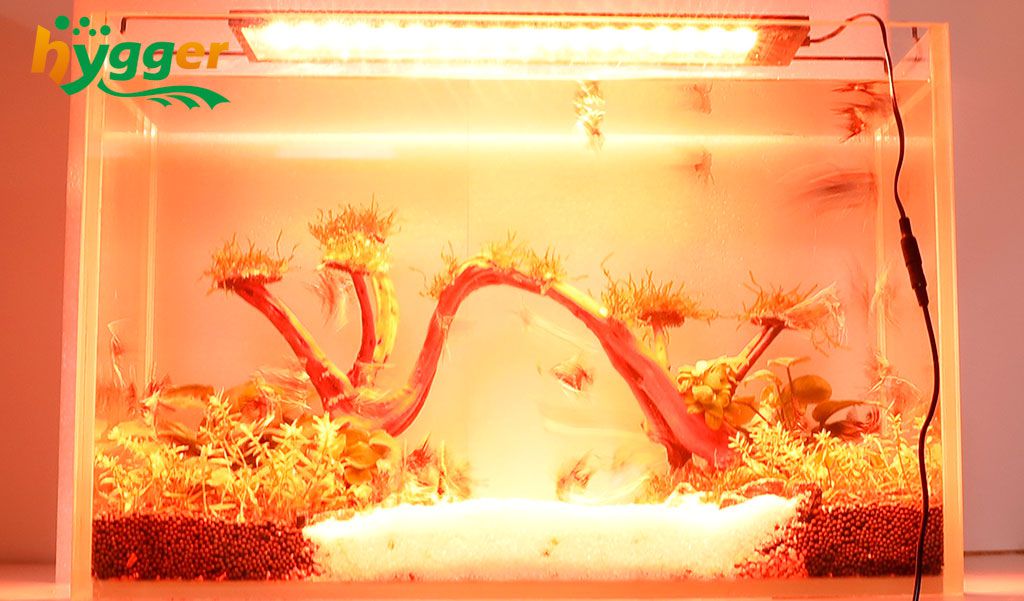
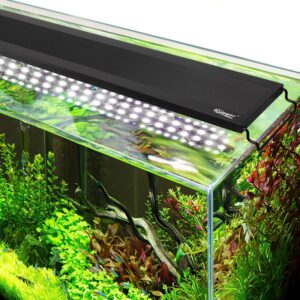
If you have a 25-inch freshwater tank with fish and plants, or there are oddball species in your tank, then the 30W 016 light is an excellent alternative. On the other side, 957 light is perfect for 12–55-inch planted tanks, including heavily planted tanks and freshwater fish-only tanks. In addition to this, hygger 018 full spectrum light is suitable for diversely planted aquariums from 11 to 55 inches. The 018 light is specially added with more red light, which can improve the absorption of plants and increase plants’ chlorophyll.
The final word
Additionally, both the 016 light and 957 light have a separable and security adapter. It prevents replacing the LCD light because of adapter damage. If the light flashes and then becomes dim, there may be a power problem. For such a case, you should replace the adapter, but there is no need to replace the LED light.
Related topics:
That’s all for today. If you have any questions about hygger aquarium lights, feel free to message us in the comment or to NEED HELP. We are happy to give you a hand. Aside from that, if you are looking forward to the undeveloped functions of aquarium lights, just stay tuned to our new releases. Finally, thanks for your time.
Whats the PAR ranges between the two lights? I just see that the Lumens are higher on the 016.
Hi David,
The PAR ranges between the two lights:
The hygger 957 light PAR range
20W 26W 36W 48W 60W 72W
201 243.2 258 313.3 346.5 420.1
The hygger 016 light PAR range
18w 24W 30W 36W 42w 58W
195.8 191.5 215.7 224.6 232.6 258
Thanks
hygger team
If the battery dies and I replace it in my 016 remote will I lose all my Diy settings
Hi Lil Axford, you can reset the DIY setting.
Thanks
hygger team
The simple answer is, YES. You will lose all your settings.