Turtles are interesting pets, but having one as a pet requires knowledge and attention to detail. Embarking on the journey of pet turtle possession is an exciting task, but ensuring the proper being of these fascinating creatures requires careful attention and a nicely designed habitat.
Content Table
In this complete guide, we will take you through the vital steps and hints for tank setup for turtles. Whether you are leaning closer to an aquarium or a terrarium, expertise in the specific needs of your turtle species is fundamental. From selecting the right enclosure to incorporating essential resources, lighting, and heating factors, this article will equip you with the know-how to build a super, glad, and healthy turtle tank setup.
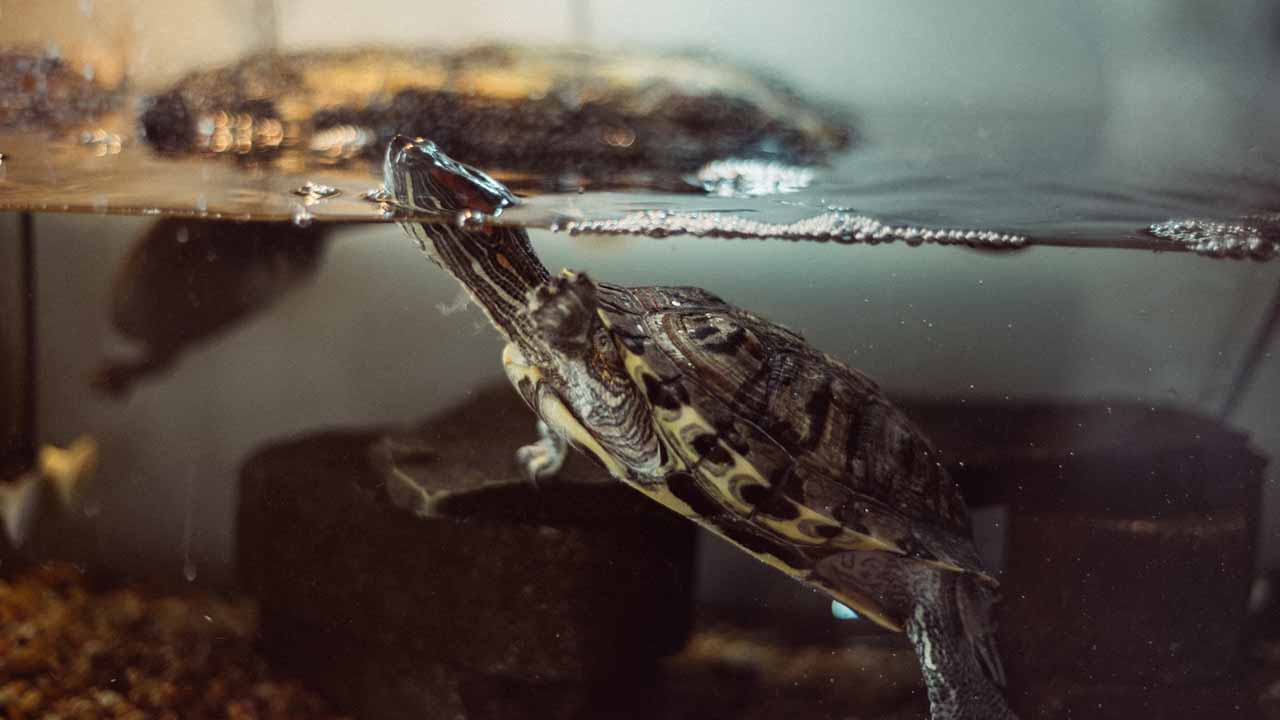
An Aquarium or a Terrarium? Which is better?
Usually, aquariums are the preferred habitat of turtles, which provides a wider space and water to swim and hydrate for turtles. It also provides the opportunity for the installation of a filtration unit that will keep the water clean and keep the turtle healthy. Moreover, an aquarium offers an opportunity to study the turtle closely and interact with it.
However, a terrarium is better for some types of turtles that need a less humid habitat. The typical terrarium has a glass enclosure that provides the substrate and also includes decorations that are used to create a land-based habitat. The terrarium system is perfect for land-dwelling turtles.
Supplies and Accessories For Turtles
Here are some of the key items you should consider for turtles.
1. Enclosure
Tank or aquarium: Turtles need a large and secure tank to allow them to swim and roam around freely. The size of the tank will be based on what species and size of turtle you have, but bigger is better.
Basking area: Turtles require a dry area where they can bask under a heat lamp or UVB light to ensure adequate heating and UV rays for their general well-being.
2. Lighting and Heating
Heat lamp: Turtles are ectothermic and therefore depend on external heat sources to maintain thermoregulation. The use of a heat lamp is equally important in the provision of a warm basking area.
UVB light: The vitamin D 3 production needed for the absorption of calcium and bone health is dependent on the UVB rays of the lights. Make sure you get a UVB light meant for reptiles.
3. Substrate and Decorations
Substrate: Pick a substrate that is easy and safe to clean, like reptile carpet or smooth river stones. However, some particles should be avoided because they can be accidentally consumed.
Decorations: A stimulating habitat is beneficial for turtles. Add rocks, logs, and plants which will give your turtle a chance to hide and climb them.
4. Water and Filtration
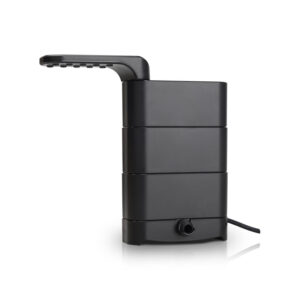
Water filter: Turtles produce waste, and a turtle filter is critical for maintaining high-quality water. A suitable filter should be selected depending on the size of the tank and the number of turtles.
Water conditioner: Water condition should be used to treat tap water that contains chlorine, chloramines, and heavy metals to provide a good environment for your turtle.
5. Feeding
Turtle food: The recommended diet should be diverse and contain turtle pellets, fresh vegetables, and once or twice in a while live prey. Make sure that the food is suitable for the species and size of your turtle.
Feeding dish: Make sure that you use a shallow pan for feeding to avoid the food spreading throughout the tank and to make it easier for the turtle to get the food.
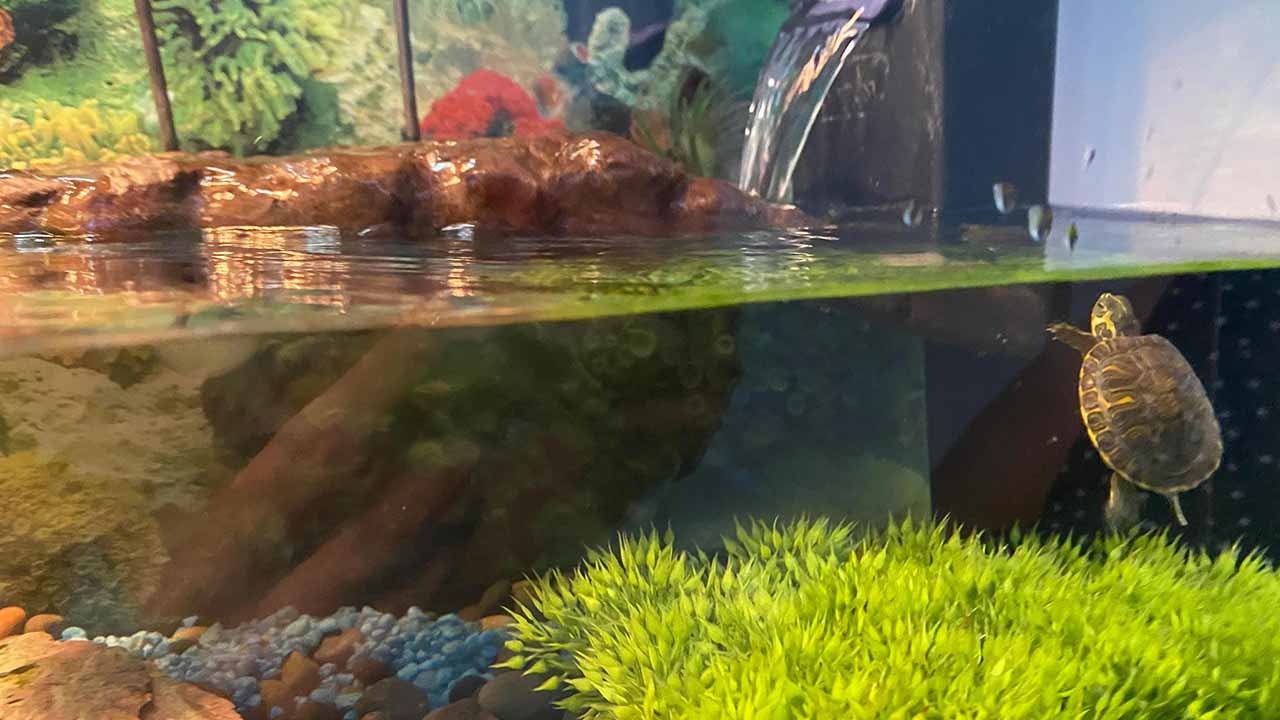
Tank Set Up for Turtles
Step 1: Choose the Right Enclosure
Aquatic Turtles
- Go for a large aquarium that has a secured lid so that it does not easily escape.
- Use a glass tank to enable clear viewing of your turtle through the water in the tank.
- Make sure the tank water is deep enough for swimming and diving.
Semi-Aquatic Turtles
- Choose a terrarium that has land and water environments.
- In this regard, select an enclosure that has a basking area and a substrate that allows digging and burrowing.
- Make sure the terrarium comes with a fitting lid so that your semiaquatic turtle does not walk away.
Step 2: Set Up the Substrate
Aquatic Turtles
- Provide a substrate such as aquarium gravel or large river rocks at the bottom of the tank.
- To ensure that the substrate is easy to clean and does not pose the danger of ingestion for the turtle.
Semi-Aquatic Turtles
- Produce a land area with a substrate combination of coconut coir and soil.
- Make the substrate that animals can dig and burrow in them.
Step 3: Install a Filtration System
- Aquatic and semiaquatic turtles require a high-quality filtration system to ensure the clarity of water.
- Select a filter appropriate for the size of your tank and the requirements of your specific turtle species.
- Keep the filter clean and well-maintained for best performance.
Step 4: Provide Basking and Heating Options
Aquatic Turtles
- A floating dock or basking platform with a heat lamp should be installed.
- Make the basking area easy to climb from the water.
Semi-Aquatic Turtles
- Constructing a basking platform that has UVA and UVB lights will help ensure proper shell and bone formation.
- Keep the heat lamp balanced to achieve the appropriate basking temperature.
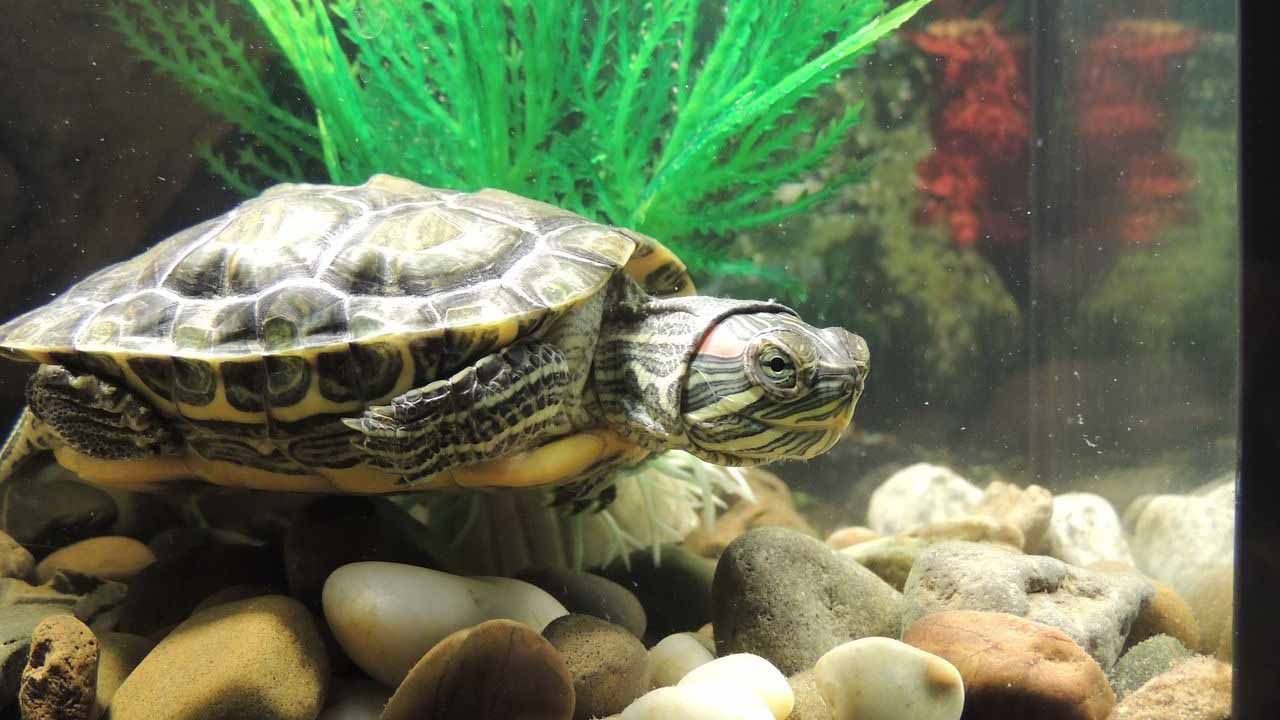
Step 5: Incorporate Lighting
- Use a UVB light source to provide the necessary ultraviolet radiation for your turtle’s health.
- Ensure the lighting setup mimics the natural day-night cycle to regulate your turtle’s behavior and metabolism.
Step 6: Add Enrichment and Decorations
- Introduce aquatic plants, rocks, and decorations that enhance the aesthetic appeal of the tank.
- Create hiding spots and caves for your turtle to retreat to when needed.
- adding floating objects or obstacles for your turtle to interact with.
Step 7: Set Up a Water Source
- For aquatic turtles, ensure the tank is filled with dechlorinated water at an appropriate depth.
- Use a water conditioner to make tap water safe for your turtle.
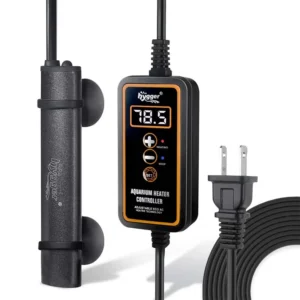
- Maintain proper water temperature using an aquarium heater.
Step 8: Monitor and Adjust
- Regularly monitor the temperature, humidity, and water parameters within the tank.
- Adjust heating, lighting, and filtration systems as needed to maintain optimal conditions.
Step 9: Research and Customize
- Research the specific needs of your turtle species and customize the tank setup accordingly.
- Consider the size of your turtle and make adjustments to the tank as it grows.
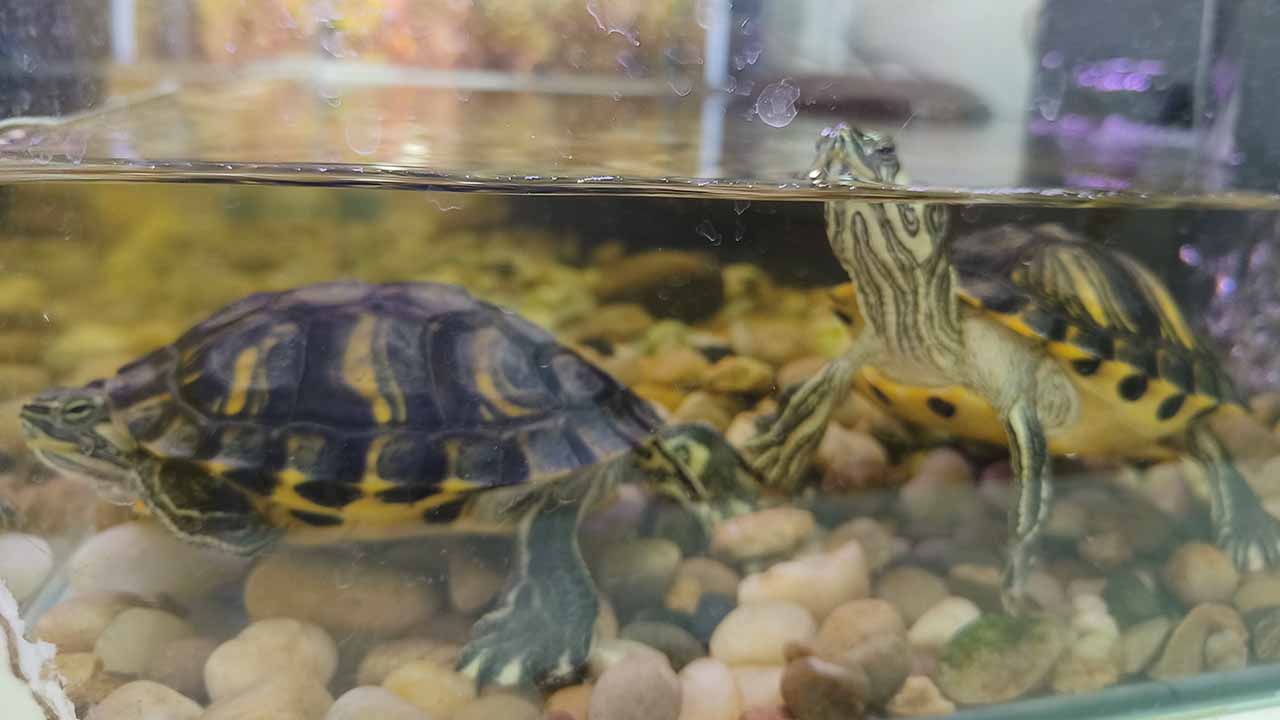
Things to Do After the Completion of the Turtle Tank
There are a few points that you need to keep in mind after completing the tank setup.
- First, you need to make sure to check the water temperature and nice regularly to make sure it fits the specific requirements of the turtle species.
- You have to additionally ensure to offer a wholesome diet for your turtles, with several clean veggies, results, and protein sources.
- Moreover, offer a pleasant and stimulating habitat for your turtles by using suitable decorations and hiding spaces within the tank.
- Lastly, install a cleansing and protection agenda to keep your turtle tank clean and provide a wholesome environment for your pet turtles.
End of the Line
In conclusion, developing a perfect turtle tank is a thrilling adventure that includes the right assessment of your turtle species and necessities. The right enclosure, assets, and add-ons, following the step-by-step tank setup will provide a remarkable environment for your pet turtle.
With the detailed guide, you will be able to provide your turtle with a nourishing environment, allowing it to be healthy. Moreover, you can understand what aspects will be beneficial for turtles and what are not. Happy Turtle keeping!

Leave a comment