Shrimp are natural aquarium cleaners. You can raise the natural cleaner in a separate tank. It is very easy. This article will teach you about the peculiarities of shrimp tanks, what you need for the shrimp tank setup, and the proper procedure to set it up. Before concluding the article, you will find a table about suitable tank sizes for different shrimp species.
Content Table
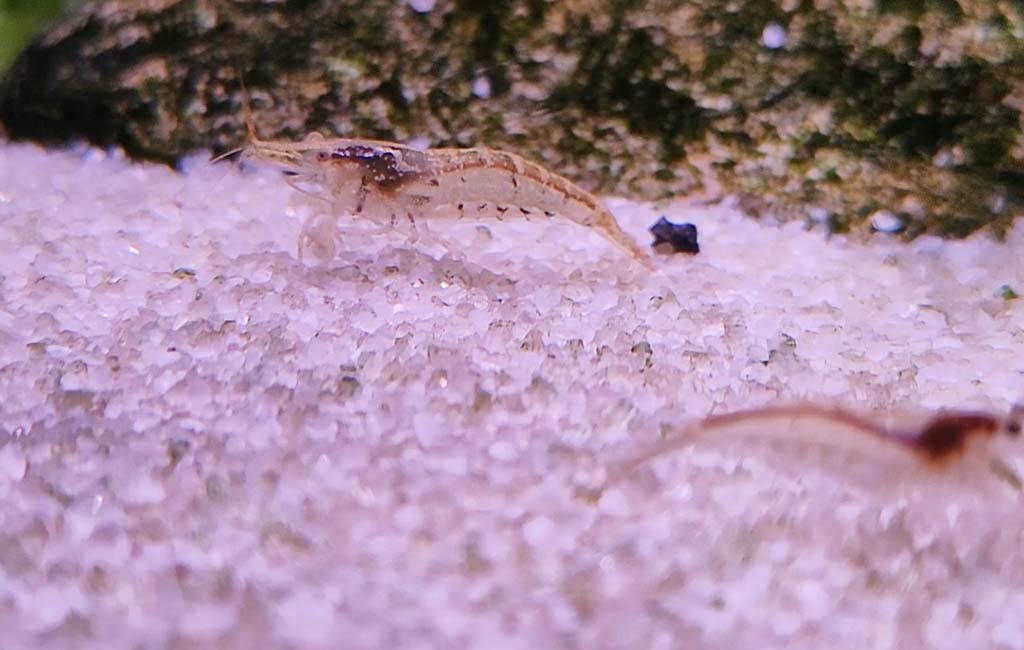
Shrimp in tank
Shrimp Tank
A shrimp tank is specifically for holding and raising the shrimp. Hobbyists and aquarists usually raise them. Here are a few peculiarities of the shrimp tank.
- It is a highly vegetated tank because shrimps love to hide and graze on vegetation.
- It has fine gravel or sandy substrate to avoid any injury.
- Shrimp tanks require a low water flow rate.
- It has a tight lid to stop escape, as shrimps are excellent climbers.
- Shrimp tanks have fine or small intake guard filters.
- It usually ranges from 5 to 10 gallons.
- Shrimp feed small but more frequently.
What Goes at the Bottom of a Shrimp Tank?
A sound bottom helps to move the shrimps with ease and comfort. Many specialized substrates are there for shrimps. However, aquarium sand and fine gravel are among the best and most economical bottom options.
Inert sand is widely used. It provides a solid foundation and doesn’t alter the water parameters. Fine gravel is also a substrate option, but grain size should be small to help the shrimps navigate easily.
However, the selection of substrate depends on the shrimp species. Keep an eye on water parameters, i.e., the substrate should be inert. Regularly clean the bottom to avoid any waste and debris buildup.
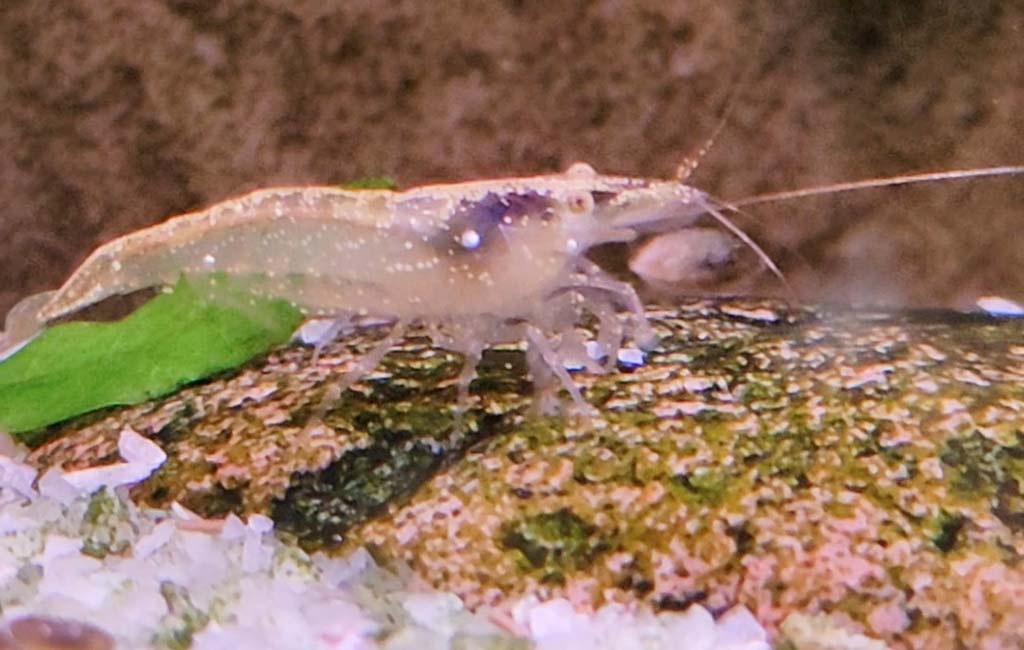
Shrimp tank
What’s Needed in a Shrimp Tank Before Setup?
Collect and prepare the following items to ensure a smooth shrimp tank setup.
Tank
Have a tank. Its size may vary from 5 to 10 gallons. However, prefer 10 gallons as it offers high stability.
Substrate
Choose any of the following substrates according to your convenience.
| Active substrate | Inert substrate |
| Amazonia is an example of such a substrate. | Sand and gravel |
| Such substrate types are suitable for Caridina shrimps. | Neocaridina shrimps love this substrate. |
| They make the water soft and decrease the pH. | They don’t affect the water parameters. |
Water Preparation
- The next important thing is to prepare water for your shrimp tank. To smooth your water preparation, get the following things.
- A water conditioner, i.e., de-chlorinator, for tap water usage.
- An RO system is optional.
- Prepare a water parameter testing kit.
Plants and Decor
Plants and decors are among the key aspects of any shrimp tank.
- Get some live plants, e.g., Java moss, Anubias, Marimo balls, etc.
- Driftwood, cholla wood, and rocks, e.g., dragon stone and lava rocks, are hardscape decor options. They help in tannins and shelter.
- Shrimp caves, PVC pipes, and coconut hides are suitable hiding spots.
Matininace and Tools
- Have water supplies, e.g., gravel vacuum, siphon, and buckets.
- Have an algae scraper and magnetic cleaner for algae control in the tank.
- For safe shrimp handling, you must have a fine-mesh net.
Equipment Needed for a Shrimp Tank
Filter
Use a sponge filter as they offer gentle and efficient filtration without harming the shrimps.
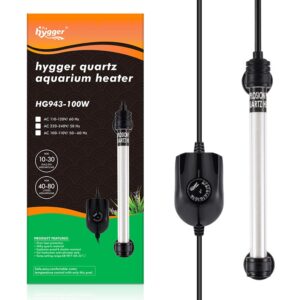
Heater
The high-temperature shrimp species require a heater as well. Use a thermostat with the heater to avoid over or under-temperature in the tank.
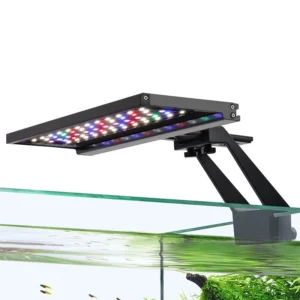
Light
Prepare some moderate LED light. It will be equally helpful for plants and shrimps. Turn the lights on for 6 to 8 hours daily.
Lid
Don’t forget to have a lid, as the shrimps are excellent climbers and can leave your tank. Therefore, always cover the top with a lid.
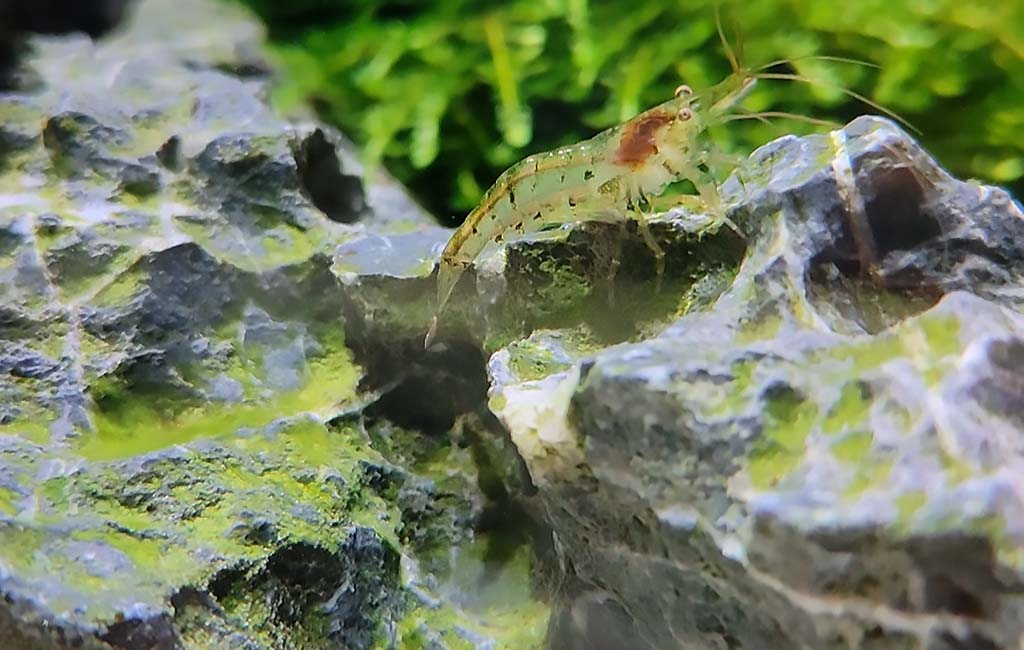
Shrimp tank setup
Start Building a Shrimp Tank by Yourself
After having all the items necessary for your shrimp tank building, it’s time to set up the tank. Here is a step-by-step procedure to build your shrimp tank.
Planing
Decide about the species that you want to see in your tank. Know about their diet, water parameters, peculiarities, etc. Select a suitable tank size. However, a 10-gallon tank will go well as it is easy to manage. Also, decide the tank location. The location should be level, away from direct sunlight and cat pets, and sturdy enough to bear the weight.
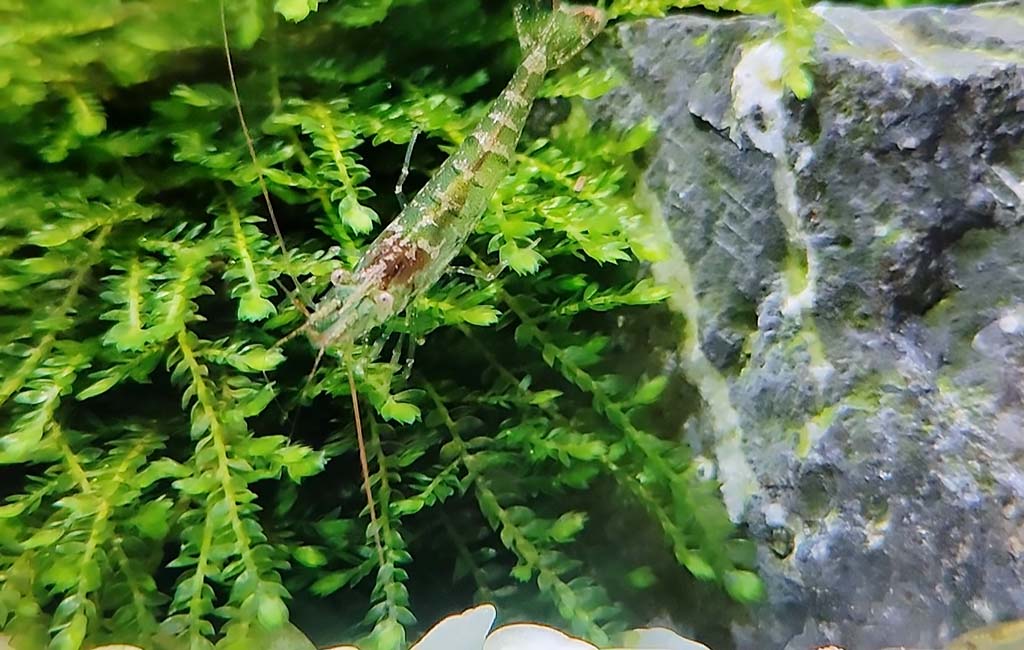
Shrimp tank setup
Substrate Installation
If you plan to use an active substrate, lightly rinse it and lay a 1.5 to 2-inch thick layer. In the case of inert substrate, thoroughly rinse the sand or fine gravel and lay it down at the bottom. Lay the substrate at some slope. It will help to improve the aesthetics.
Plants and Decors
Add the decors into the tank, i.e., driftwood, rock, etc. Before installation, ensure the proper cleanliness of the hard scapes to avoid any accidental contamination. Add live plants to the tank. There are two categories of live plants, i.e., attaching to some surface and rooting into the substrate. Firstly, attach the plants to hard scapes with some glue or thread. At the end, add the rooting plants to your substrate.
Filtration
Sponge filters do well for the shrimp tanks because they produce gentle flow and avoid accidental suction. If you have a higher tank size, hang-on-back filters with a pre-filter sponge will do the filtration. Strong water currents cause stress among shrimps, so avoid doing so.
Water and Heating
Add water with the optimal water parameters into the tank. Pour it slowly to avoid any disruption. A heater is optional for high-temperature shrimp species or temperature fluctuation situations. Add a thermostat to maintain the desired temperature.
Lighting
Install the lights in the tank. Turn them on for only 6 to 8 hours. More than that will cause algae to bloom in the tank.
Cycling
Kickstart your cycling by adding 2 to 4 ppm of pure ammonia or nitrogenous fish food. After that, add beneficial bacteria to the tank. After that, check the water parameters weekly. Maintain the parameters to Ammonia 0, Nitrite 0, and Nitrate <20ppm. Also, check the water hardness and other parameters. Cycling usually takes 4 to 6 weeks.
Shrimp Addition
Quarantine the fish and new plants. For pest removal, soak the plant in a 1:20 diluted bleach solution. Introduce the shrimps with the drip acclimation method.
Maintenance
Set a maintenance routine for your shrimp tank. Weekly change up to 20% water. Regularly check the water parameters. Avoid algae growth in the tank. Regularly trim the plants. Otherwise, it will cause problems in the tank.
Tips
Here are some additional tips for you.
- Start with 5 to 10 shrimp. They breed at a fast rate.
- Always tighten the top with the lid to prevent their escape.
- Daily observe their health. Promptly address any health issue of the shrimps.
Tank size for shrimp
Tank Size and Shrimp Species
| Specie | Minimum number in a tank at the beginning | Tank size |
| Amano Shrimp | 5 | 10 gallons |
| Cherry Shrimp | 10 | 5 gallons |
| Bamboo Shrimp | 3 | 20 gallons |
| Ghost Shrimp | 6 | 10 gallons |
| Red Rili Shrimp | 10 | 5 gallons |
| Snowball Shrimp | 8 | 5 gallons |
| Atya gabonensis | 2 | 20 gallons |
| Bee Shrimp | 8 | 10 gallons |
| Blue Pearl Shrimp | 10 | 5 gallons |
| Blue Bolt Shrimp | 8 | 10 gallons |
| Yellow Cherry Shrimp | 10 | 5 gallons |
| Orange Pumpkin Shrimp | 10 | 5 gallons |
| Neocaridina davidi (Red Cherry) | 10 | 5 gallons |
| Golden Shrimp | 8 | 5 gallons |
| Ghost Shrimp (Palaemonetes paludosus) | 6 | 10 gallons |
| Blue Velvet Shrimp | 10 | 5 gallons |
| Babaulti Shrimp | 6 | 5 gallons |
| Pinto Shrimp | 8 | 10 gallons |
| Blue Dream Shrimp | 10 | 5 gallons |
| Bloody Mary Shrimp | 10 | 5 gallons |
| Green Jade Shrimp | 10 | 5 gallons |
| Crystal Red Shrimp | 8 | 10 gallons |
Concluding Thoughts
Shrimp are among the interesting aquatic pets. A 5 to 10-gallon tank is enough to raise a community of shrimps. A sand or fine gravel bottom, with other substrate accessories, helps to build an optimal shrimp tank. If you love experimenting with different species, a table in the previous section will help you decide on the shrimp tank size.
Related Products
Leave a comment